##Have you ever wondered why your product photography budget always seems to balloon out of control?
Often, the problem isn't the photographer's rate or the studio rental fee, but a "lack of preparation before hitting the shutter." This leads to wasted time on set, constantly rearranging lighting, or worst of all, having to schedule a costly "reshoot."
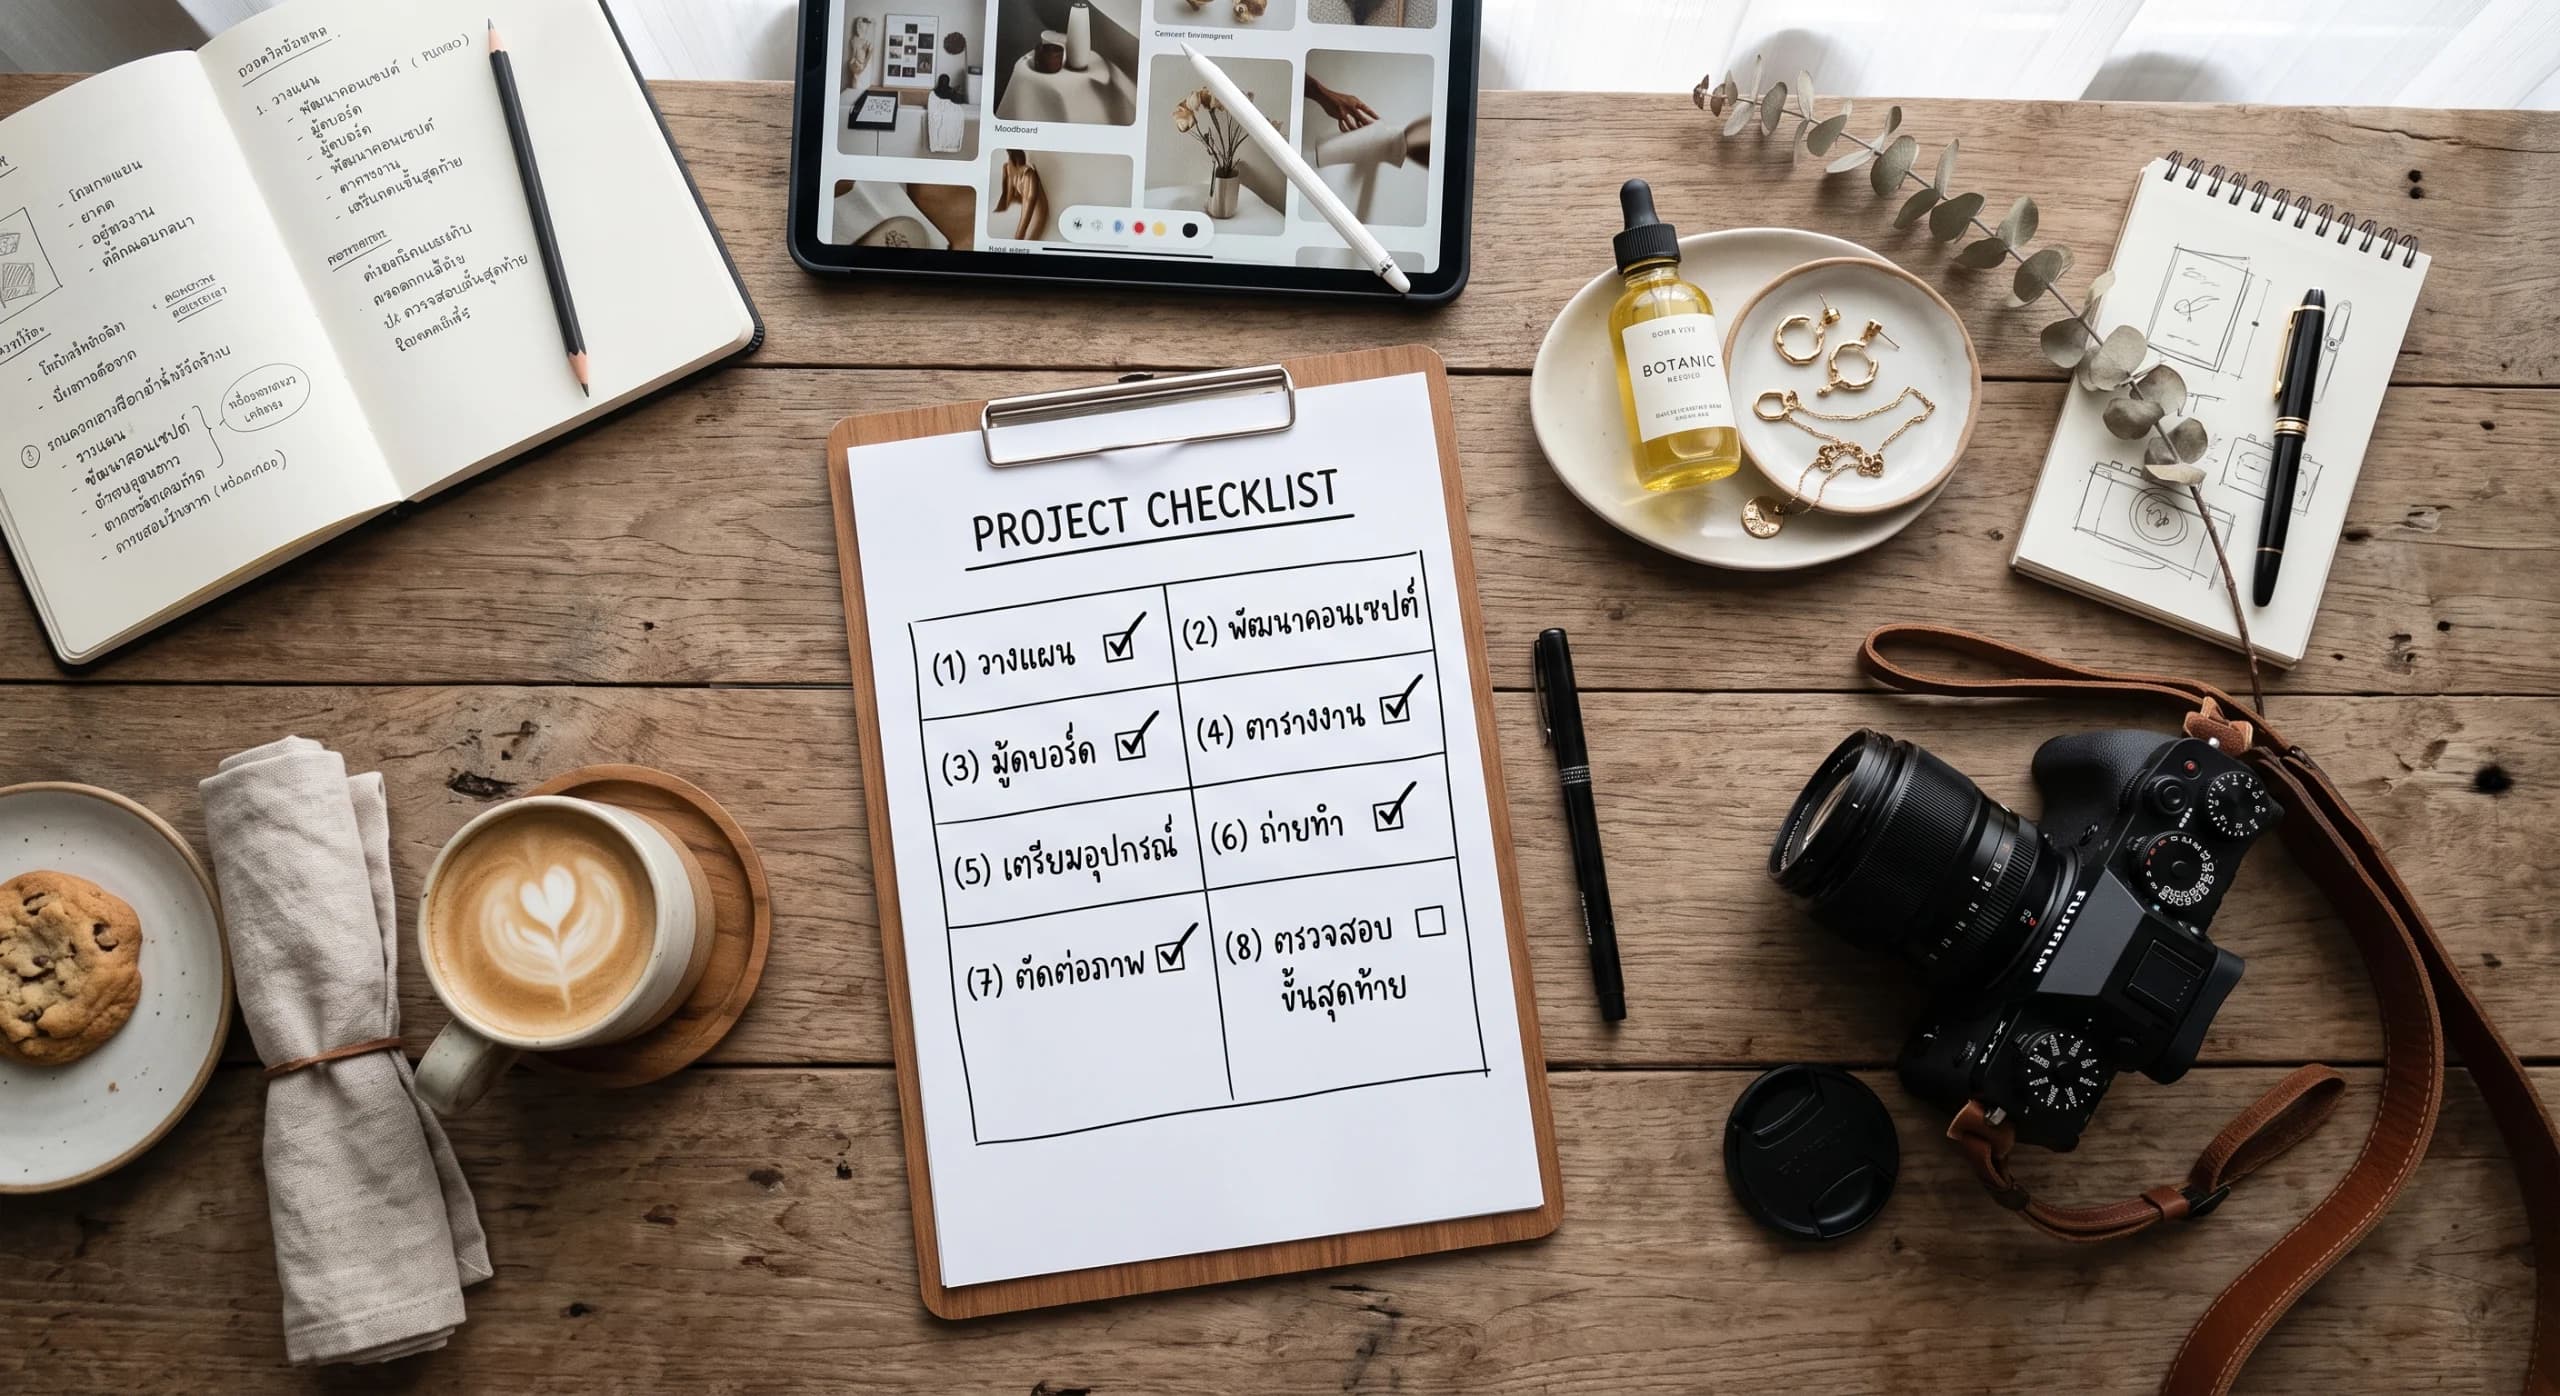
Whether you're hiring a production house or renting a studio to shoot it yourself, good preparation is the key to cost control. Here is a 5-step pro checklist that will save you more than half your time and money!
##1. Create a Clear Moodboard and Reference (The Visual Contract) Telling your photographer, "Make it look clean and expensive," is far too vague. Everyone's definition of beauty is different, and vague briefs lead to trial-and-error lighting setups that burn through your studio rental hours.
What to prepare: Gather reference images that perfectly match your vision. Include color tones (warm/cool), lighting styles (hard light with sharp shadows or soft light from a softbox), and the overall mood.
💡 Pro Tip: The clearer your moodboard, the faster the photographer can assess the necessary lighting gear and lens focal lengths. This ensures a rapid and accurate setup from the very first click.
##2. Select the Flawless "Hero Product" (The Flawless Hero) Many brands grab products straight from the warehouse stock without thoroughly checking them. Once photographed and zoomed in, scratches, glue stains, dust, or crooked labels become glaringly obvious.
What to prepare: Handpick the most perfect, flawless units of your product. Wipe away all fingerprints and dust (wearing cotton gloves while handling is highly recommended).
💡 Pro Tip: Don't rely on photo retouching to fix every flaw. High-end retouching rates per hour can sometimes cost more than the photoshoot itself! Preparing flawless items from the start is the best way to save money.
##3. Finalize Your Shot List and Aspect Ratios (The Master Plan) One photo size does not fit all platforms. If you suddenly realize you need vertical shots for TikTok or IG Stories after the shoot, but the photographer framed everything too tightly, those photos are unusable for those specific platforms.
What to prepare: Create a detailed Shot List specifying the exact angles needed (e.g., straight-on, 45-degree, macro texture, lifestyle with props).
💡 Pro Tip: Inform the photographer in advance about the "Aspect Ratios" you need. For example, 1:1 for marketplaces (Shopee/Amazon), 4:5 for Facebook/Instagram feeds, and 9:16 for Reels. A professional photographer will know to shoot with enough negative space, allowing you to crop easily or add text graphics later.
##4. Bring Props that Reflect Your Brand DNA Most studios have basic props available for rent (like acrylic blocks, artificial flowers, or books), but these generic items might not reflect your unique brand identity. Plus, studios often charge extra for prop rentals.
What to prepare: Source and bring your own props that highlight your key ingredients or speak directly to your target audience's lifestyle.
💡 Pro Tip: Using your own props ensures your visuals stand out and don't look identical to other brands using the same studio. It also gives you total control over your prop purchasing budget.
##5. Group Products by "Lighting Setup" (The Time Hacker) This is an industry secret most outsiders don't know! Jumping back and forth between different setups (e.g., shooting one item on a pure white backdrop > changing to a lifestyle setup with props > going back to a white backdrop) is the fastest way to burn through your studio time.
What to prepare: Group your shot list logically based on the lighting and background required.
💡 Pro Tip: Shoot all your "Die-cut" (pure white background) items in one continuous batch. Once those are entirely finished, have the photographer change the lighting setup for the "Lifestyle" category. This sequencing eliminates the need to constantly move lights and adjust camera settings, speeding up the workflow exponentially.
##Bottom Line Great product photography doesn't require an unlimited budget; it starts with rigorous planning. Doing your homework using this 5-step checklist will transform a chaotic shoot day into a seamless workflow. You'll get exactly the photos you envisioned, maximize every dollar spent, and have a fresh batch of visuals ready to launch your next ad campaign!